
Gingerbread House Decorating Ideas
Baking season feels complete once a decorated house takes centre stage on the table, and simple gingerbread house decorating ideas can turn even a plain flat pack house into a display that guests admire before anyone reaches for a slice.
Most families start with a kit or with ready baked panels, then spend their energy on icing, colour and candy rather than on construction. Decorating is the joyful part of the project, because every house ends up different and personal.
Below you will find fifteen decorating styles, from snowy white roofs to glowing candy windows and miniature villages. Each style includes guidance on the effect, the homes it suits, a display suggestion and one mistake worth avoiding from the start.
What Is the Easiest Way to Make a Gingerbread House Look Beautiful?
Short answer first: strong gingerbread house decorating ideas rest on three things, namely stiff icing that holds its shape, one clear colour plan chosen before you begin, and decorations added in a calm order from the roof down to the board.
Colour does most of the work before anyone studies the details, since the eye reads a roof of red and white candy long before it notices careful piping. Limit the palette to two or three shades and repeat them everywhere.
Patience matters just as much as skill, because rushed icing slides, warm rooms soften chocolate and heavy hands crack delicate walls. Work in short sessions, let each stage firm up before adding the next, and keep spare candies within easy reach.
Classic White Royal Icing Piping
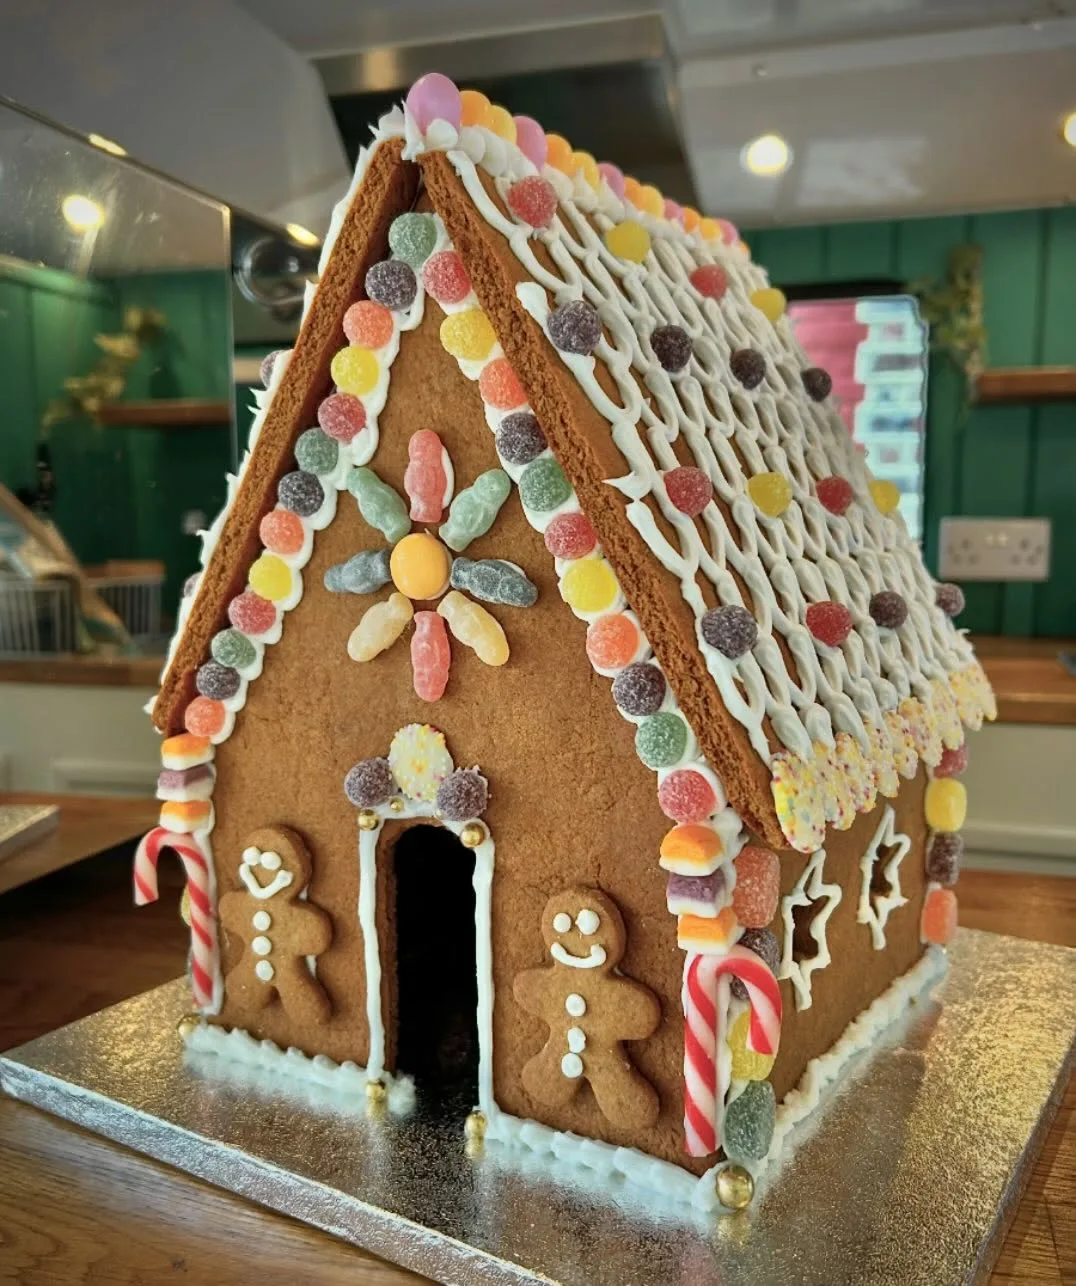
Crisp white lines piped across warm brown gingerbread create the most timeless look of all, echoing snow on a cottage roof. Scalloped edges, dotted windows and neat door outlines keep the design calm, elegant and easy to admire from across the room.
Pipe borders along every roof edge, window frame and door outline with a small round tip, holding the bag at a steady angle. Work one side at a time, let each line set for a few minutes, then turn the house gently.
Families who love a traditional Christmas table suit this style best, because white on brown matches garlands, candles and classic red accents already in the room. Older relatives especially appreciate the familiar look and often ask for the same design yearly.
Try one practice sheet of baking paper before touching the house, since ten spare minutes of practice steadies the hand noticeably. Squeeze, lift and pull in one smooth motion, and wipe the tip clean on a damp cloth between every line.
Rushing the piping is the usual mistake, because fast hands produce wobbly lines and blobs at every corner. Slow down, breathe out as you squeeze, and accept that one imperfect scallop adds handmade charm rather than ruining the whole display.
Red and White Candy Cane Trim
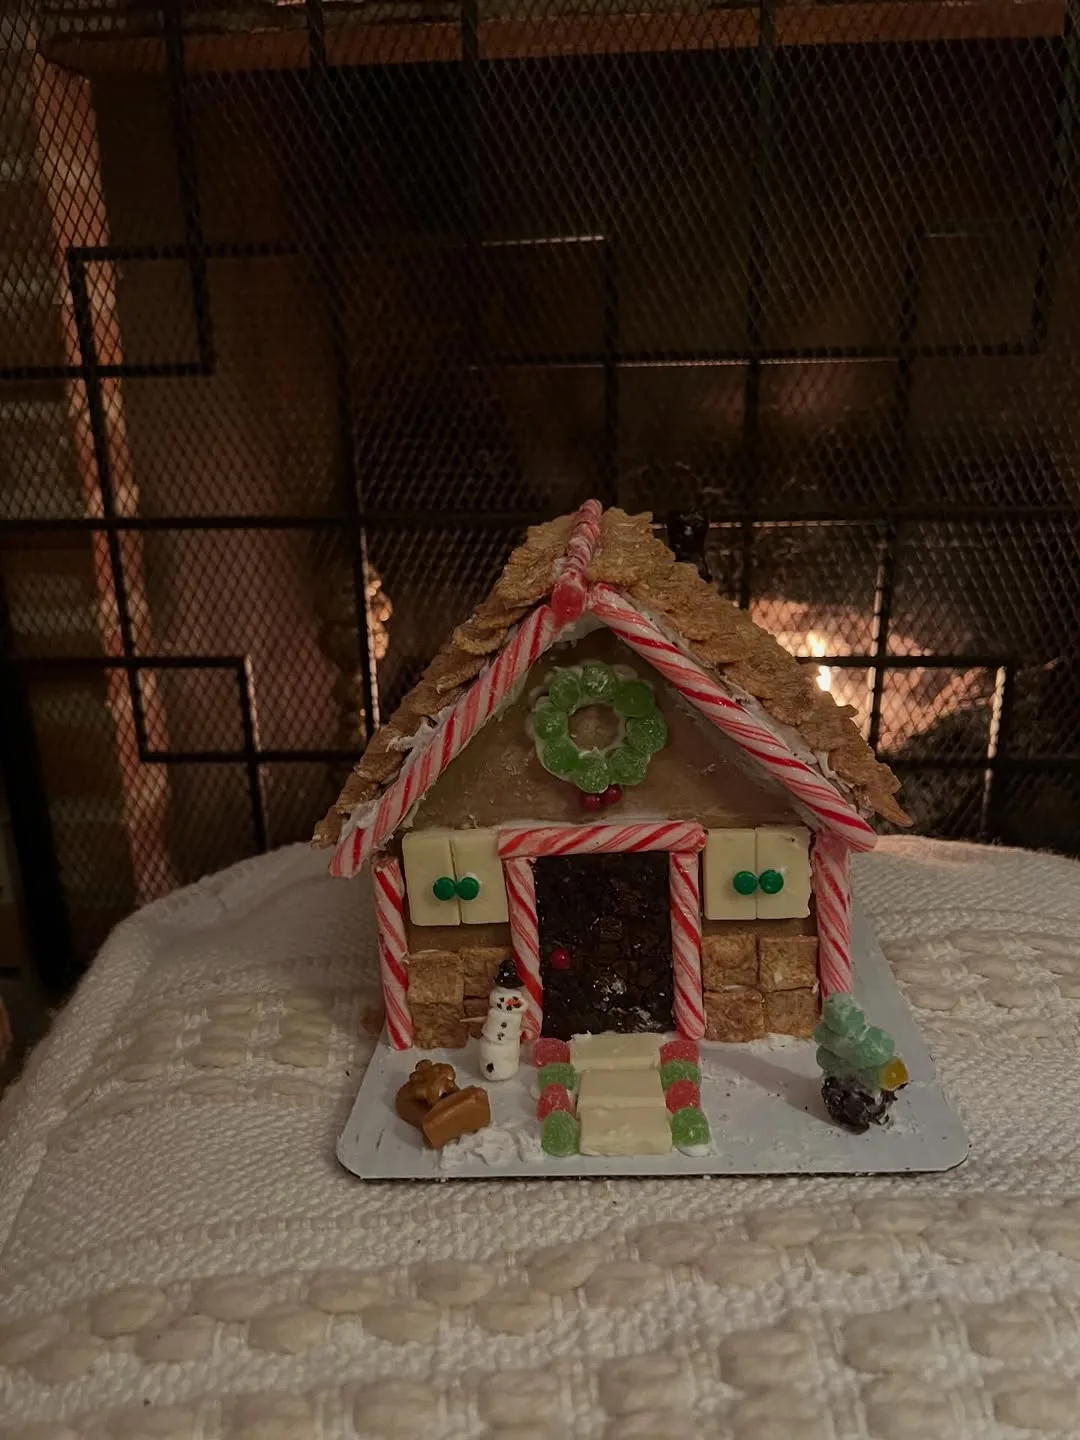
Bold stripes of red and white bring instant festive energy, turning a simple house into a sweet shop window. Candy canes frame the roofline, peppermint discs dot the walls and red ribbon candy curls along the base like a cheerful skirt.
Crush spare candy canes inside a clean bag for path gravel, and keep whole mini canes for corners and roof edges. Alternate red sweets with white ones in strict order, because the regular rhythm is what makes this scheme look smart.
Children adore this scheme and can help place discs and canes without spoiling the pattern, since the two colour rule forgives wobbly hands. Grandparents enjoy it too, because the colours recall the sweets of their own childhood Christmases at home.
Line the display board with red and white striped paper or fabric before you build, so the house sits inside its own little stage. Scatter a few loose peppermints around the base and the whole scene gains depth for photographs.
Overloading every surface with stripes is the trap here, because busy walls fight the roof and the eye finds nowhere to rest. Leave some gingerbread bare, keep white icing bands between candy rows, and let the pattern breathe a little.
Snowy Powdered Sugar Roofs
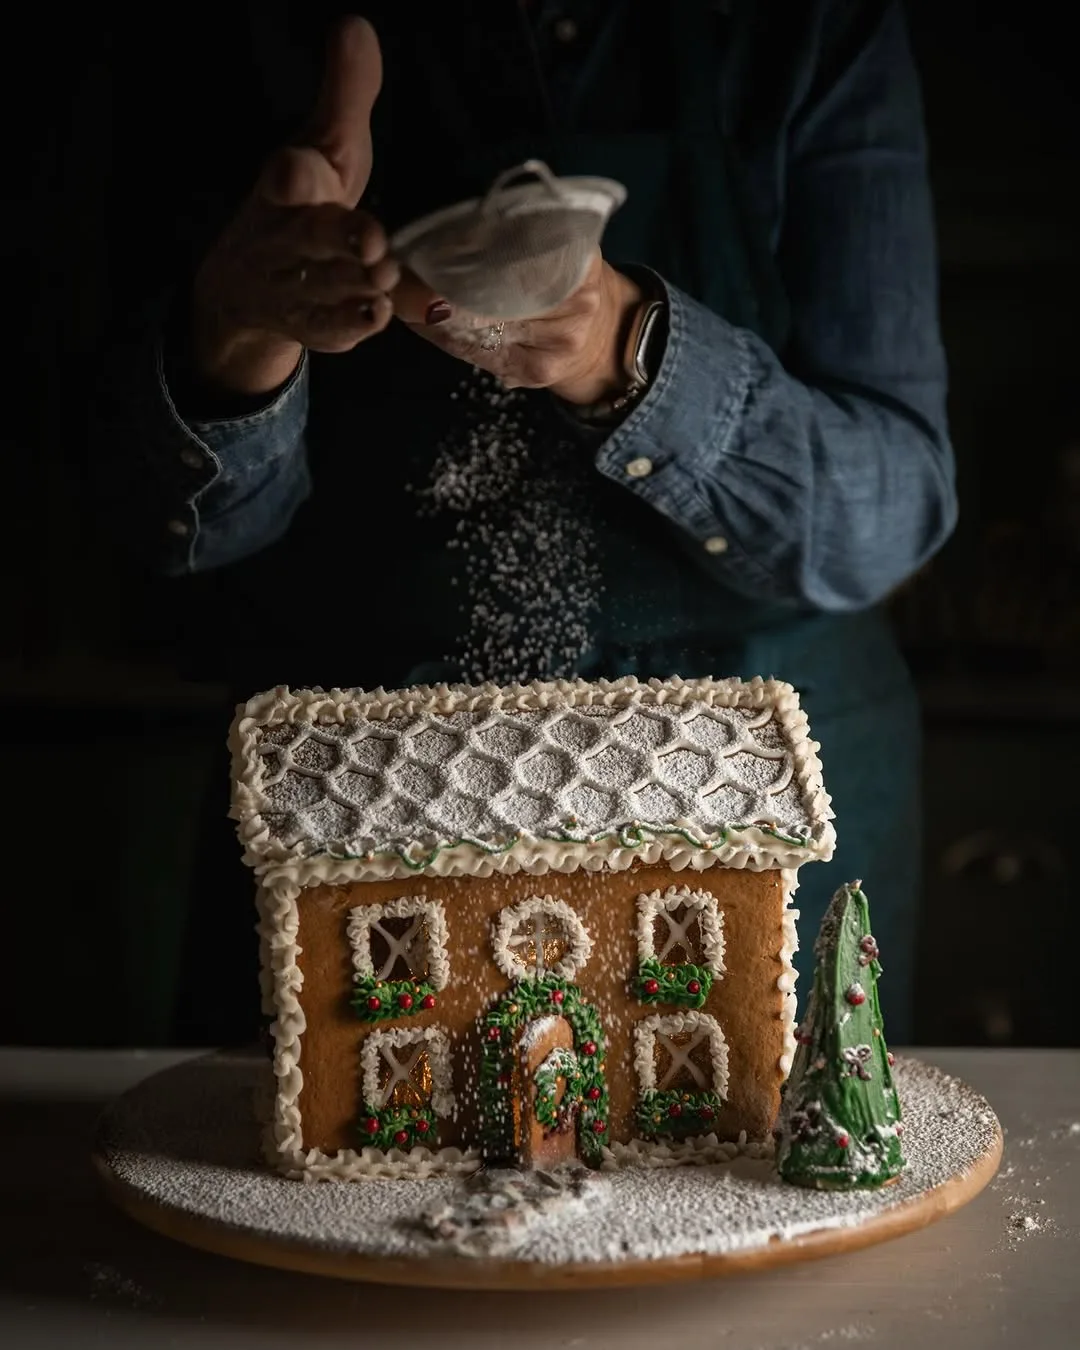
Soft snowfall styling sits at the heart of many favourite gingerbread house decorating ideas, because a white roof over warm brown walls reads as winter in one glance. Gentle drifts against the door and windows complete the quiet, sleepy village mood.
Dust the roof generously with icing sugar through a small sieve once the icing beneath has firmed, tapping the sieve edge for an even fall. Add a second lighter dusting over the board so the house settles into its own snowfield.
Busy hosts love this forgiving style, because sugar snow hides uneven icing, small cracks and wobbly piping under one kind white blanket. Beginners gain confidence quickly here, since almost any mistake disappears beneath another gentle shake of the sieve.
Set the finished house on a board covered with desiccated coconut for deeper snow that sparkles under lights and stays in place. Tuck a few white marshmallows beside the walls as snowdrifts and the scene looks soft enough to sleep in.
Shaking sugar over wet icing is the common error, because the powder melts into grey patches instead of sitting like fresh snow. Wait until the surface feels dry, dust from a height, and blow away loose clouds before anyone moves the board.
White and Gold Elegant Styling
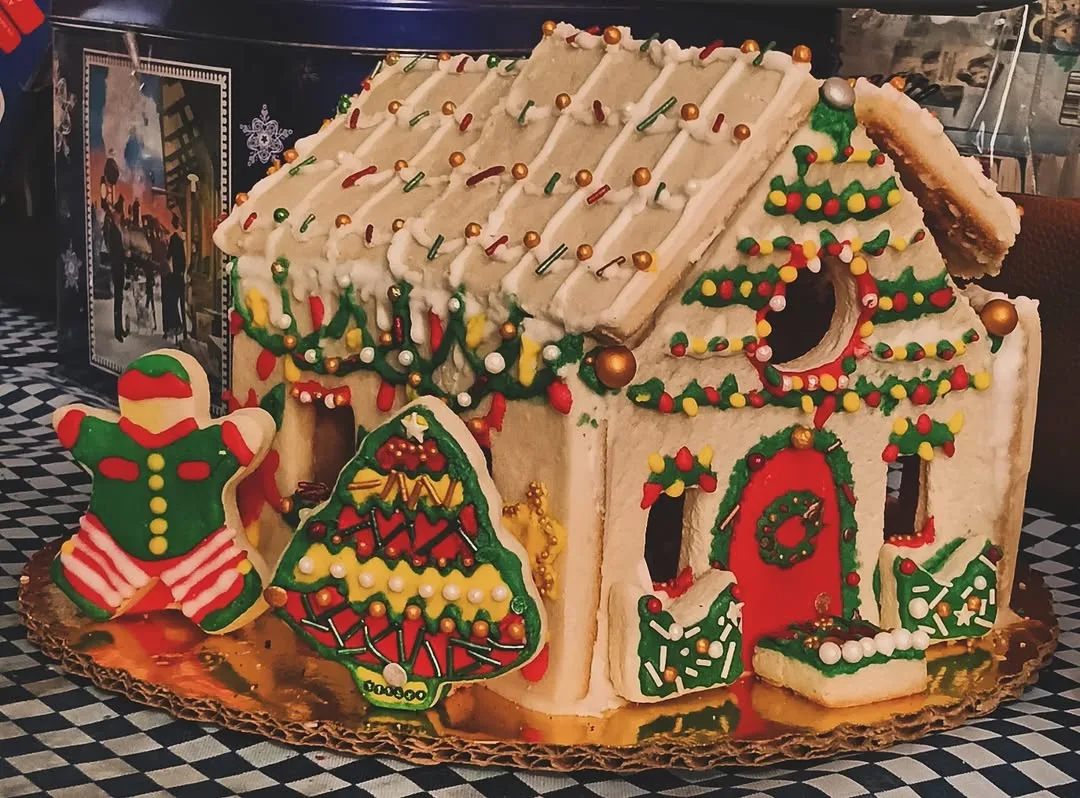
Pale icing, gold pearls and a few gilded leaves turn a humble house into a jewel for the table. Restraint carries the whole effect, so every golden detail shines against calm white walls like candlelight caught in a shop window.
Choose edible gold balls, tiny stars and one or two gold wrapped chocolates, then place them sparingly along rooflines and window sills. Keep the icing pure white and smooth, because rough texture steals the quiet luxury this style depends on.
Evening dinner parties suit this design perfectly, since gold echoes candle flames, glassware and the good cutlery saved for guests. Hosts who prefer calm grown up tables over playful candy colours will feel completely at home with this palette.
Place the house on a mirrored tray or a gold charger plate so the decorations reflect softly in the surface below. Stand two plain candles behind it, keep other table colours muted, and let visitors discover the sparkle slowly.
Mixing gold with silver, red and green all at once destroys the calm, because four competing shines turn elegance into clutter. Commit to gold alone, repeat it in small doses, and leave wide areas of plain white between every accent.
Soft Pastel Candy Colour Palette
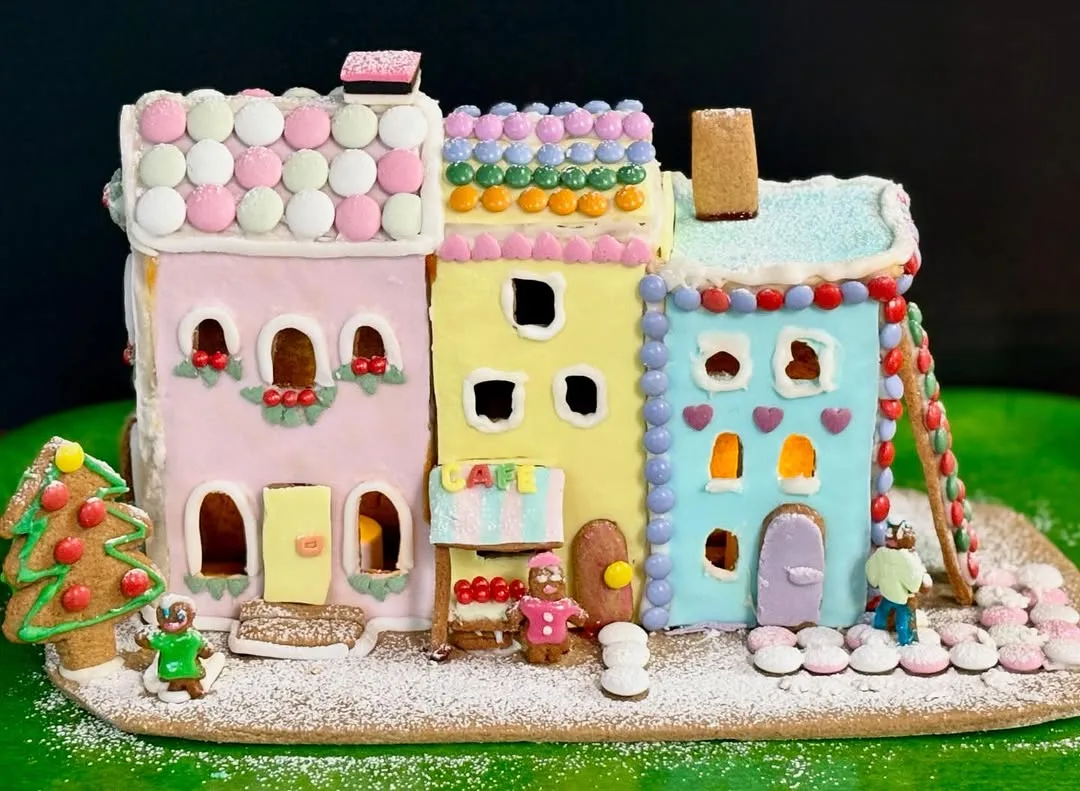
Gentle shades of pink, mint, lemon and baby blue soften a gingerbread house into something from a storybook bakery window. White icing laces the edges like embroidery, and the whole house feels light, kind and quietly joyful on display.
Sort candies into small bowls by shade before you begin, because pastel schemes collapse the moment one harsh colour sneaks in. Tint small batches of icing with a drop of colour each, and test every shade on paper before piping.
Young children and spring celebrations suit pastels beautifully, since the colours feel gentle rather than loud and photograph softly in daylight. Baby showers, Easter tables and birthdays for little girls all welcome a house dressed in these quiet shades.
Keep the background plain when you display a pastel house, because white cloth and pale plates let the colours glow without competition. Add one small bunch of fresh or dried flowers nearby and the arrangement feels like a spring garden party.
Adding one neon sweet or a single bright red candy is the classic pastel mistake, because the eye jumps to that spot forever. Check every handful before it reaches the house, and keep strong colours in a separate bowl elsewhere.
Woodland Pinecone and Greenery Details
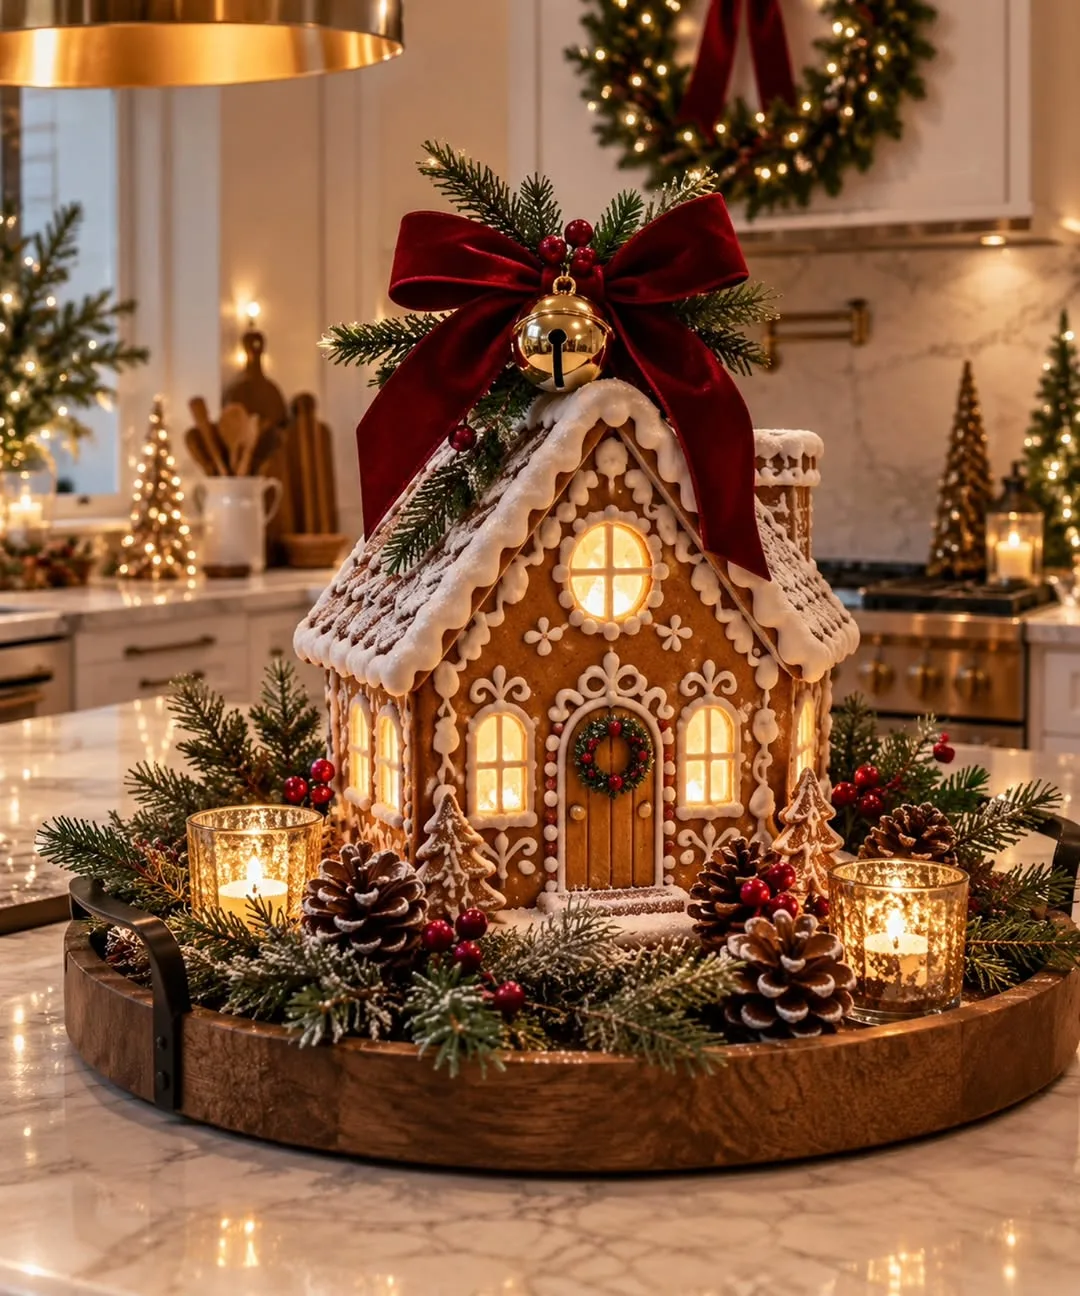
Natural textures turn a gingerbread cottage into a woodland hideaway, with tiny pinecones at the corners and green leaves curling around the door. Brown, cream and deep green replace bright candy colours, giving the house a calm forest floor feeling.
Gather small pinecones, rosemary sprigs and cinnamon sticks before you begin, since woodland gingerbread house decorating ideas borrow their charm from the garden rather than the sweet shop. Fix each piece with a hidden dab of stiff icing.
Homes with wooden tables, linen cloths and handmade pottery suit this style naturally, because the house continues the same honest materials. Walkers, gardeners and anyone who decorates with foraged finds will enjoy building a cottage that mirrors the countryside outside.
Surround the base with green tinted coconut as moss, then add a path of crushed nuts or cocoa dusted crumbs leading to the door. Scatter two spare pinecones on the table nearby so the woodland scene spills beyond the board.
Using fresh soft leaves that wilt within a day is the mistake to avoid, because tired greenery makes the whole house look forgotten. Choose sturdy rosemary, bay or dried leaves instead, and replace any piece that starts to curl.
Miniature Gingerbread Village Display

Rows of tiny houses along a mantel or sideboard create a whole village from one afternoon of decorating, each cottage slightly different from its neighbours. Varied roofs, doors and candy colours keep the eye travelling happily from one end to the other.
Build the houses in graduated sizes, tallest in the middle or at the back, so the display gains depth like a real street. Repeat one or two colours across every cottage, because shared shades tie separate houses into one believable village.
Hosts with a long mantel, a wide windowsill or a hallway console suit a village best, since the display needs room to stretch. Patient decorators who enjoy small details will happily spend an evening giving every cottage its own character.
Light the village with a string of warm fairy lights woven behind the houses, so windows glow and rooftops catch a golden edge. Add cotton wool drifts between the cottages and a few bottle brush trees for instant snowy streets.
Making every house the same size and shape flattens the display, because the eye reads repetition as wallpaper rather than a village. Vary heights, roof angles and door colours, and leave small gaps so each cottage keeps its own breathing space.
Stained Glass Window Candy Panels
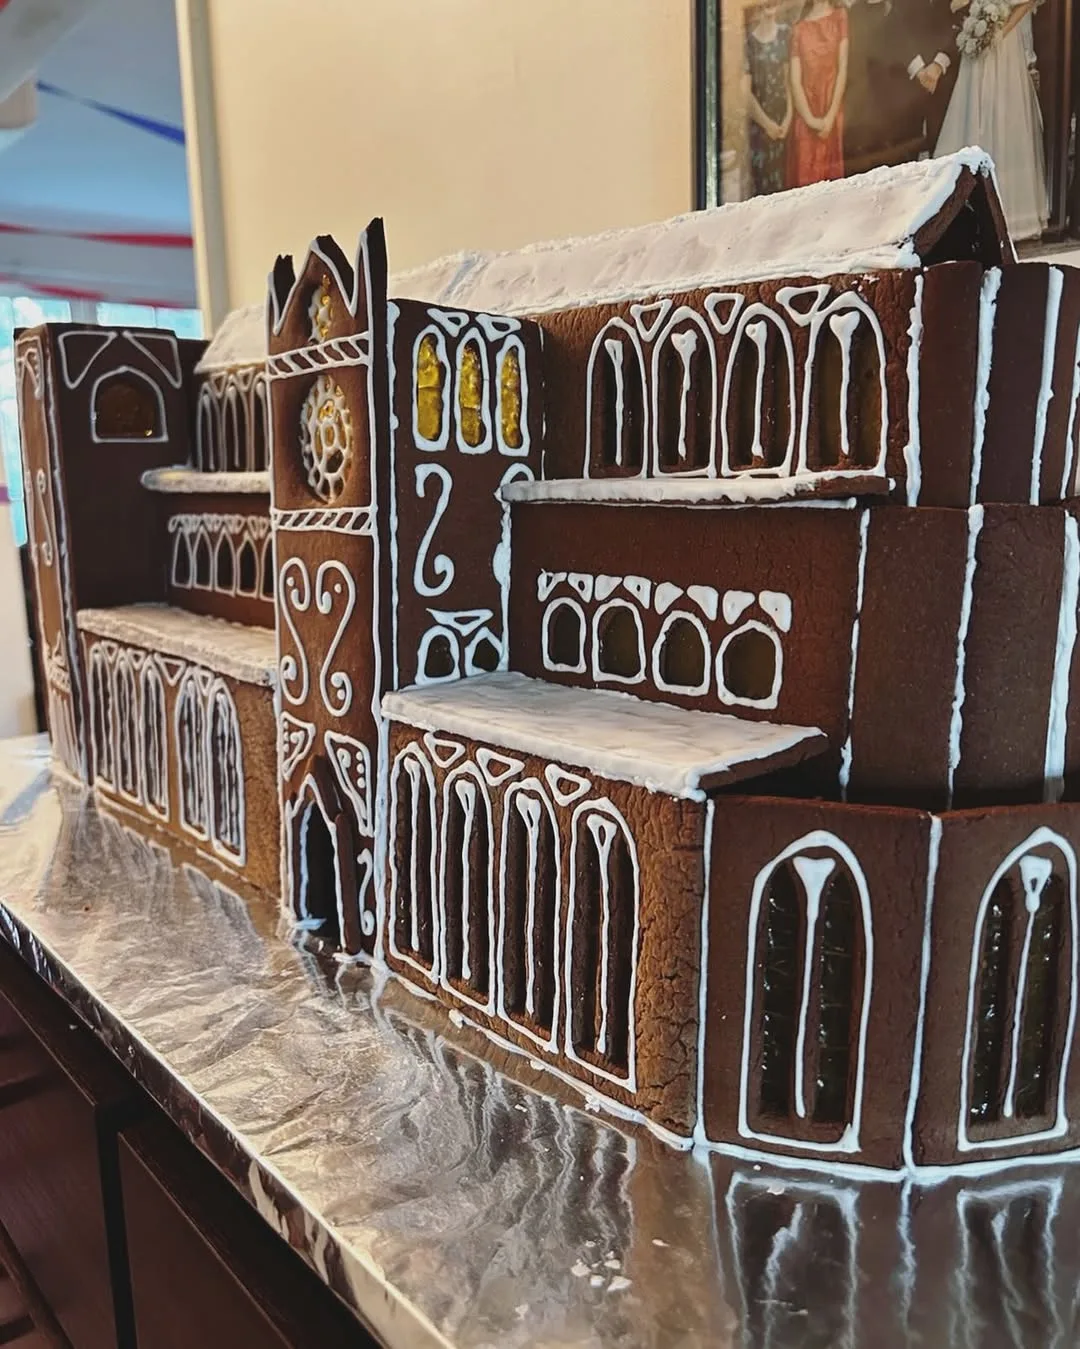
Glowing windows in ruby, amber and emerald turn a plain house into a lantern once the room lights drop. Coloured candy panels catch light from behind and throw soft jewels of colour onto the board, delighting everyone who walks past.
Fill each window opening with finely crushed boiled sweets in a single colour, pressed gently into place before the walls are assembled. Keep the pieces small and level, because lumpy fillings melt unevenly and cloud the clear jewel effect.
Guests notice glowing windows before anything else, so this style suits evening parties and dark winter afternoons when the house can perform. Romantics and anyone who loves candlelit rooms will claim this design as their favourite immediately.
Position a small battery tealight inside the house before you fix the roof, choosing a warm steady glow rather than a flickering one. Battery light stays safe around sugar and paper decorations while giving the windows their magical evening shine.
Leaving a real candle anywhere near the house is the serious mistake here, because sugar, paper and dry gingerbread all burn more easily than people expect. Use battery lights only, keep them switched off overnight, and check small children cannot reach them.
Gumdrop Rainbow Roof Shingles
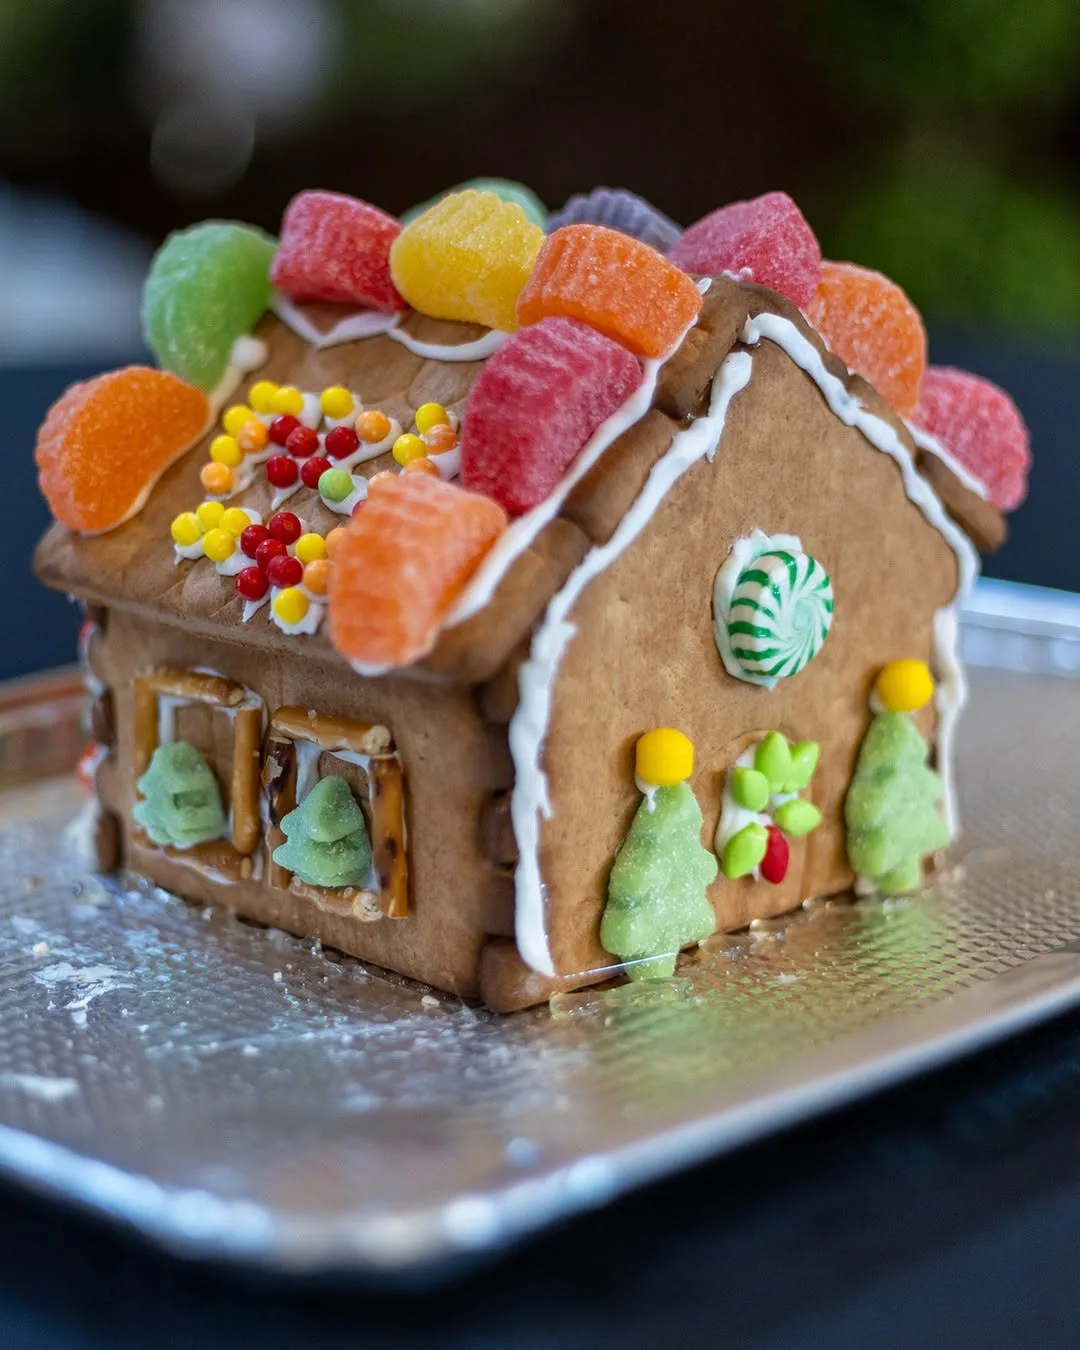
Bright rows of gumdrops turn a plain roof into the happiest surface in the room, and rainbow shingle layouts appear in many cheerful gingerbread house decorating ideas for family tables. Sugared colours sparkle like frost while tasting unmistakably of childhood.
Press each gumdrop into a pea sized dab of stiff icing, working in straight rows from the bottom edge of the roof upward. Overlap every new row slightly over the last, just like real shingles, so no bare gingerbread peeks through.
Playful families and children at birthday parties suit rainbow shingles best, because the colours promise fun before anyone tastes a crumb. Anyone decorating with young helpers will appreciate a design where slightly uneven rows still look cheerful and correct.
Count your gumdrops and sort them by colour before the first row goes on, because running short midway leaves an awkward patch. Keep one spare bag hidden in a cupboard so repairs and quiet nibbling never spoil the finished pattern.
Starting at the top of the roof is the classic error, because each new row then covers the icing dabs of the row above unevenly. Begin at the bottom edge, keep rows level, and step back often to check the pattern.
Chocolate Wafer Log Cabin Walls
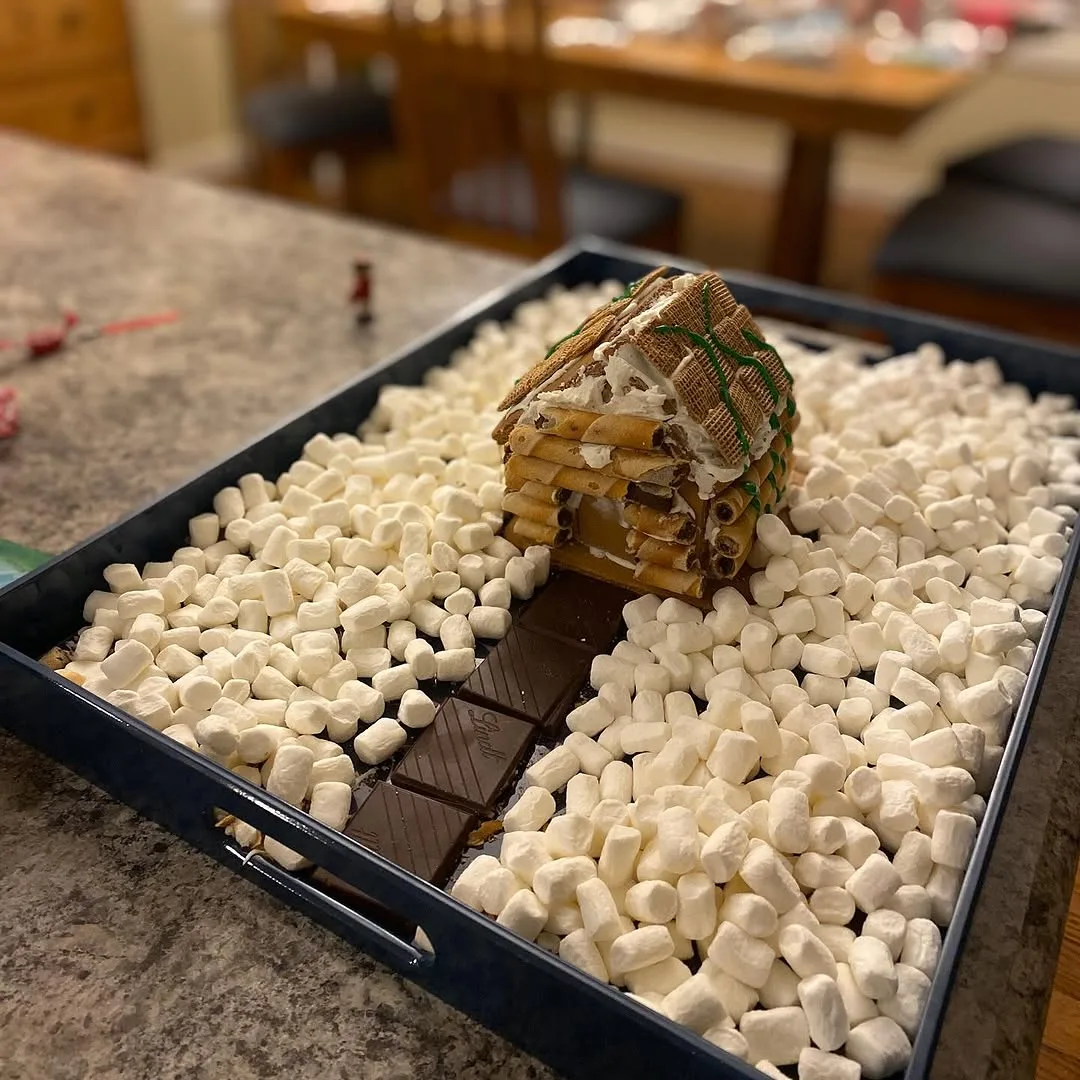
Dark chocolate wafers laid like logs give a gingerbread house the snug look of a cabin deep in snowy woods. White icing mortar peeks between every layer, and the contrast of brown and cream feels warm, sturdy and quietly delicious.
Layer wafer sticks horizontally along each wall with stiff icing between them, trimming pieces gently with a serrated knife where corners meet. Build upward in even courses, checking from the front that every log line stays straight and level.
Rustic tables and woodland themed parties suit the log cabin perfectly, since chocolate browns blend with pinecones, hessian and wooden serving boards. Chocolate lovers who find candy colours childish often choose this design as their grown up favourite.
Add a small woodpile of spare wafer pieces stacked neatly beside the door, plus a tiny icing axe shape if your piping hand feels brave. Little story details like these make visitors lean closer and smile before they say anything.
Working in a hot kitchen is the enemy of this design, because chocolate wafers soften, bend and lose their crisp edges quickly. Choose a cool room, handle pieces by their edges, and chill your hands under cold water between rows.
Pretzel Stick Fences and Pathways
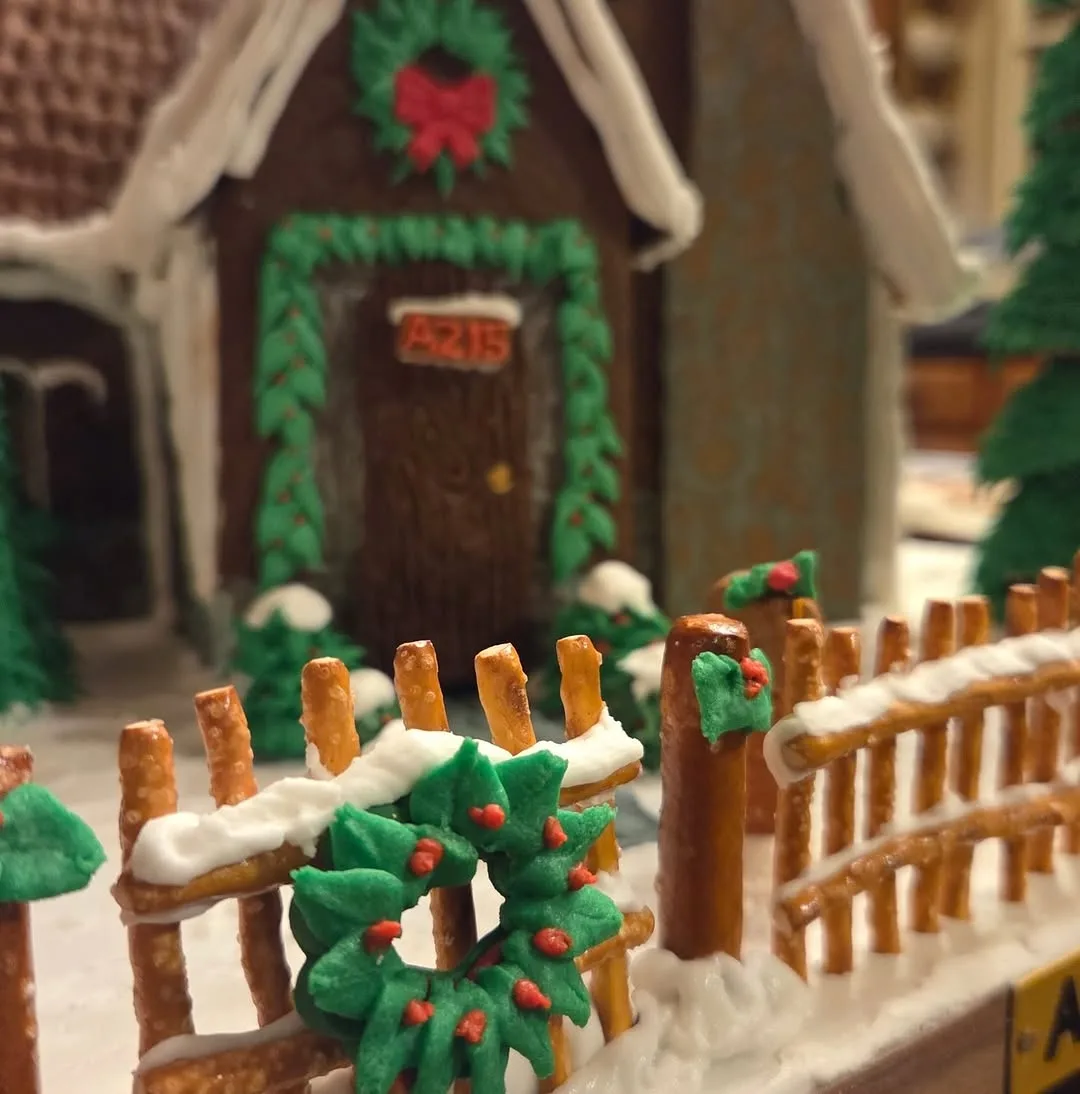
Crunchy pretzel fences and crumb paths give a gingerbread house a front garden, turning a lone building into a little home with grounds. Salty brown lines against white snow icing look neat, cosy and surprisingly realistic from a short distance.
Push short pretzel sticks upright into a thick line of icing along the board edge, spacing them evenly like fence posts. Join the posts with two horizontal sticks fixed at gentle angles, then scatter crushed biscuit crumbs as the garden path.
Anyone who loves cottage gardens will enjoy fencing a tiny plot, complete with a gate gap left open at the path. Families decorating together can divide jobs happily here, because fencing, paths and planting suit different ages and skill levels.
Create a curved path rather than a straight one, because gentle bends look natural and lead the eye slowly toward the door. Edge the crumbs with tiny green sweets as shrubs and the garden gains colour without any extra building.
Spacing fence posts by guesswork is the usual flaw, because uneven gaps look like missing teeth along the front of the scene. Mark positions lightly in the icing with a cocktail stick first, then plant each post on its mark.
Tiny Iced Wreaths on Doors and Windows
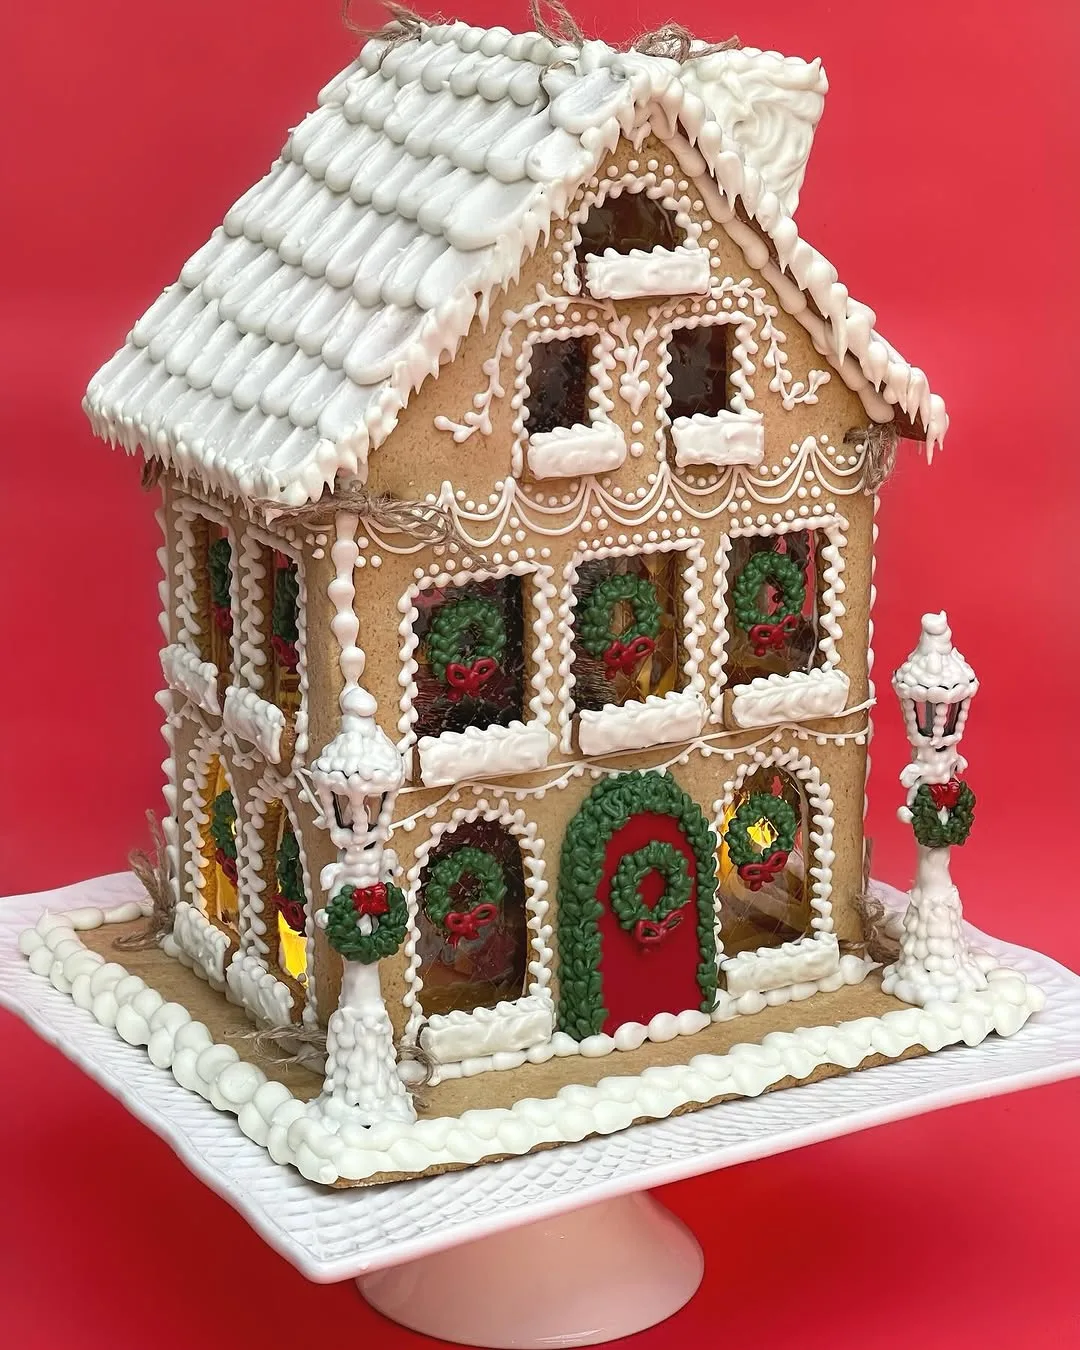
Small green wreaths piped onto the door and windows give a house its finished, welcoming face, like a home ready for carol singers. Tiny red berries dot each circle, and the repeated motif ties every wall into one calm design.
Pipe neat circles of green icing with a small star tip, keeping your wrist steady and the circle size matched across every window. Add berries with the very tip of a cocktail stick dipped in red icing for precise dots.
Patient decorators who enjoy fine work in quiet moments suit this idea best, because tiny wreaths reward slowness and punish haste. Anyone who cross stitches, paints miniatures or letters cards by hand will feel happily at home with the scale.
Finish each wreath with one miniature bow piped at its base, then echo the same green on a tiny tree shape beside the door. Matching motifs across the scene make even a simple house look planned by a careful designer.
Squeezing the bag too hard floods these tiny shapes into green puddles, which is the mistake beginners report most often here. Use gentle pressure, lift away cleanly at the end of each circle, and keep a practice board beside you.
Marshmallow Snowman Garden Scene
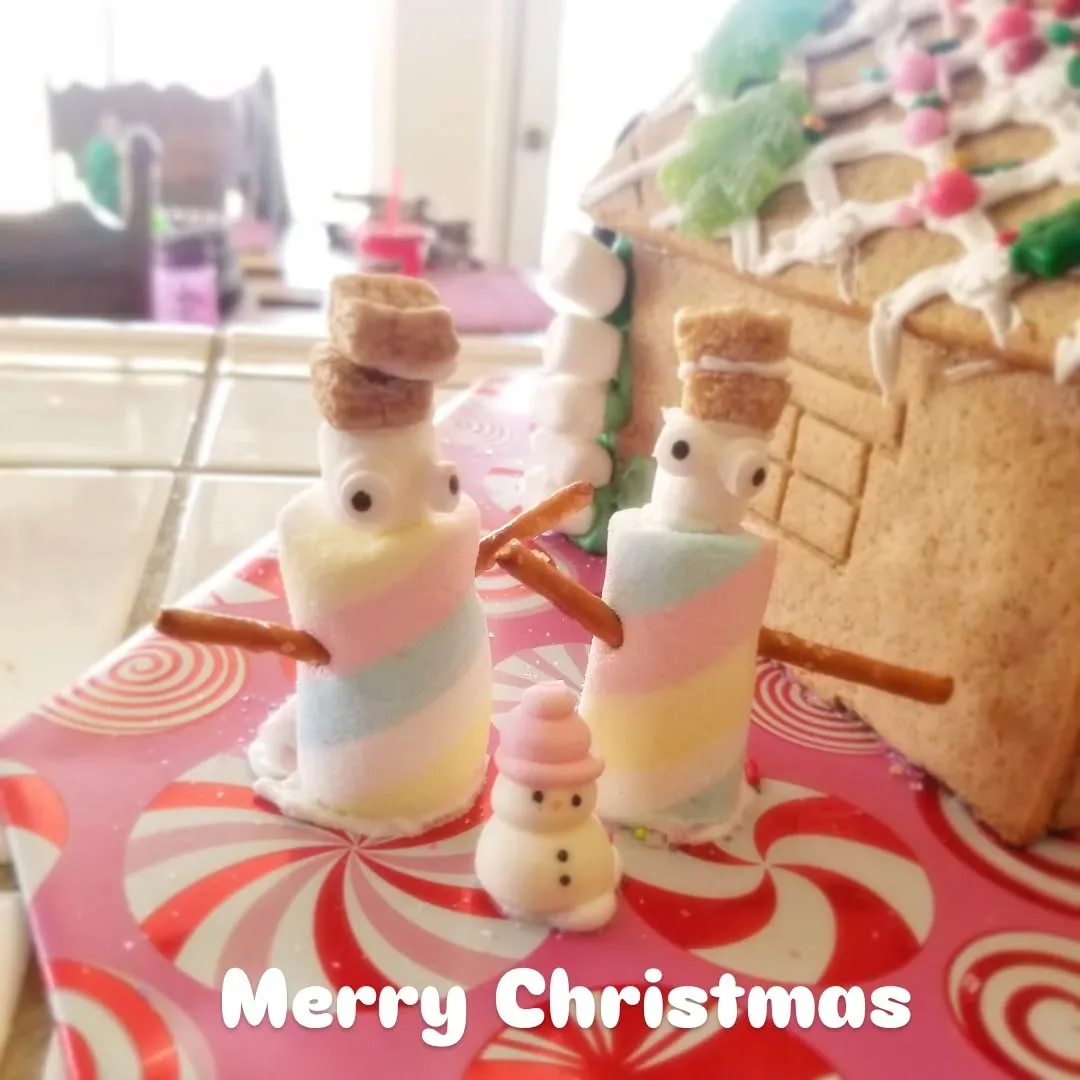
Friendly snowmen standing guard beside the door turn a decorated house into a story, inviting children to invent names and adventures for them. White marshmallow figures against brown walls and green wreaths give the scene instant character and gentle humour.
Stack two marshmallows with a dab of icing for each snowman, then add tiny chocolate drop eyes and a sliver of orange sweet as the nose. Thin pretzel twigs make cheerful arms, and a fruit strip scarf adds the finishing colour.
Parents decorating alongside toddlers suit this scene perfectly, because marshmallow figures forgive wobbly placement and still look adorable. Grandparents displaying the house for visiting grandchildren will enjoy pointing out each snowman and telling its story at the table.
Give every snowman a slightly different pose or scarf colour, because small differences make the group feel like a family rather than copies. Place one figure waving near the path and another beside the door for a welcoming arrangement.
Building the snowmen days before the display is the mistake here, because marshmallows dry out, yellow slightly and lean as the icing softens. Assemble figures on the day you present the house, and keep spares hidden for emergency repairs.
Edible Glitter and Sparkling Sugar Snow
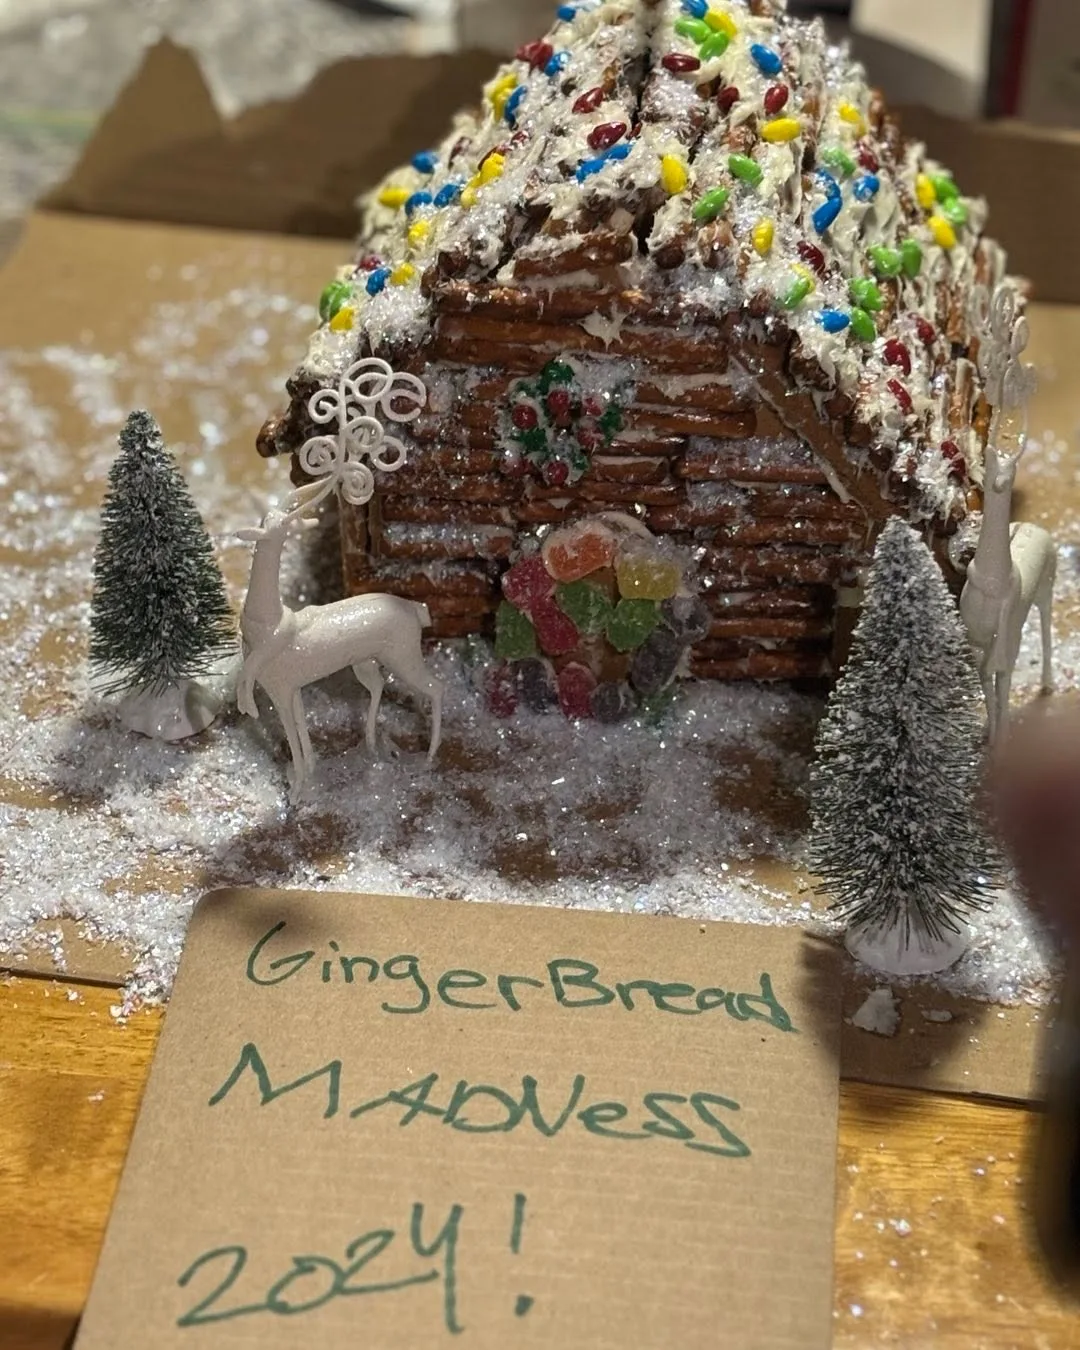
Fine edible glitter scattered over icing snow makes a rooftop twinkle like frost under morning sun, subtle from a distance and magical up close. Silver or pearl sparkle suits white schemes, while gold glitter warms cream icing beautifully.
Brush the roof with a whisper thin layer of fresh icing or edible glue, then shake glitter from a small spoon held high above the surface. Work over a clean tray so fallen sparkle can be gathered and used again.
Hosts planning a glamorous table will love this finish, because glitter photographs beautifully and echoes candles, sequins and polished glassware nearby. Anyone who finds matte sugar snow a little plain will appreciate the lift a light sparkle gives.
Catch the light deliberately by placing the finished house where a lamp or window will strike the roof at an angle during your gathering. Even a modest dusting glitters strongly under side light, while overhead light leaves it looking flat.
Pouring glitter straight from the tub buries the house under heavy clumps, which is the mistake that ruins this delicate finish most often. Decant a little into a spoon, tap gently, and stop earlier than feels necessary for a frost like effect.
Tiered Cake Stand Centrepiece Display

Height transforms a modest house into the centre of the celebration when it rises on a tiered stand above the other dishes. Guests see it from every seat, candles glow beneath it, and the whole table suddenly has a clear star.
Choose a stand with a steady base and a plate wide enough for the display board, then test the balance before decorating begins. Build the house directly on its board and lift the whole board onto the stand at the end.
Hosts with small dining tables suit the stand best, because raising the house frees precious surface for plates and serving bowls below. Anyone serving a buffet will also welcome a centrepiece that stays visible above the crowd of dishes.
Ring the base of the stand with fresh greenery, spare candies or small ornaments so the house grows out of the table styling naturally. Add one tiny house or biscuit figure on the lower tier to reward guests who look closely.
Placing the stand where elbows, sleeves and serving spoons swing past is the mistake that ends displays early in a shower of crumbs. Choose the calm centre of the table, warn helpers it is there, and move it only with two hands.
Common Mistakes
Even careful decorators lose houses to simple habits rather than bad luck, because gingerbread is fragile and icing has limits everyone must respect. Reading the common errors before you begin saves heartache, ingredients and one whole evening of rebuilding.
Weak icing causes more collapses than any other single error, since most gingerbread house decorating ideas assume a stiff mix that grips like glue. Test yours by lifting the whisk: firm peaks that hold their shape mean you can build safely.
Decorating before the walls have fully set invites sliding panels and leaning roofs that no amount of candy can disguise later. Assemble the bare house first, leave it untouched until the joints feel rock solid, and only then begin the pretty work.
Crowding every wall with decorations hides the gingerbread completely, and the house ends up looking like a sweet shop explosion rather than a home. Leave honest brown spaces between features so the eye can rest and each detail earns attention.
Forgetting the display board until the very end forces risky lifts of a finished, fragile house across the kitchen. Decorate on the board from the first wall, carry the board with two hands, and let the house travel safely wherever it goes.
Budget Friendly Gingerbread House Decorating Ideas for Families
Beautiful houses do not require expensive ingredients, because icing sugar, flour based biscuits and simple sweets carry nearly every design in this guide. Spend on one or two special accents only, and let plain white icing do the heavy work.
Supermarket own brand sweets cost far less than fancy baking shop candies and decorate exactly the same once they sit on icing. Compare bags by weight, share colours with a friend, and freeze leftover sweets for next year's gingerbread projects.
One large bag of icing sugar covers several houses with piping, snow and glue, making it the hardest working bargain in the whole project. Buy the big bag once, store it dry, and you will decorate all season without another trip.
Save broken biscuits, spare sweets from party bags and the last candies in every jar throughout autumn, because a mixed treasure box decorates roofs for free. Children love raiding the saved box and inventing patterns nobody planned in advance.
Sharing one decorating afternoon between cousins, neighbours or school friends splits every cost while multiplying the fun and the variety of sweets. Pool your candies, bake or buy houses together, and send each family home with a finished centrepiece.
Simple Tips for a House That Stays Pretty All Season
Plan the colour scheme on paper before a single sweet leaves its bag, sketching the roof, walls and board in rough blocks of colour. Ten quiet minutes of planning prevent the mid project panic that ruins otherwise lovely houses.
Keep a damp cloth and a dry cloth beside your workspace from the start, because sticky fingers smear clean icing faster than anything else. Wipe hands between every stage, and the white details stay white instead of turning faintly pink.
Simple gingerbread house decorating ideas often succeed where ambitious towers fail, because modest designs forgive wobbles and finish within one happy session. Choose a style you can complete calmly, and save the grand cathedral project for next year confidence.
Work from the top of the house downward, finishing the roof before the walls and the walls before the board, so loose crumbs never fall onto completed sections. Gravity becomes your helper instead of your enemy with this simple order.
Photograph the finished house in daylight near a window before the party begins, because evening lamps flatten colours and hide fine piping. Morning pictures also give you a proud record if small hands demolish the display before dessert.
Let children own one wall or the whole garden area as their personal canvas, while adults handle the roof and the structural piping nearby. Shared houses carry far more family meaning than perfect houses decorated by one person alone.
Frequently Asked Questions
How long does a decorated gingerbread house stay fresh for display?
Decorated houses kept in a cool dry room stay presentable for two to three weeks, because dry gingerbread and hard icing resist spoiling well. Dust grows visible before flavour fades, so most families display first and eat within the first week.
What icing works best for holding decorations in place?
Royal icing wins for structure, because it dries hard and grips candy, wafers and pretzels like cement once it sets. Buttercream tastes lovely but stays soft, so save it for spreading on houses that will be eaten the same day.
Can children decorate their own small houses safely?
Children manage small houses happily when adults handle the assembly and any sharp tools, leaving children the joyful work of placing sweets. Choose big candies for little fingers, supervise tasting enthusiasm, and expect charming chaos rather than straight lines.
How do I stop candy decorations from sliding off?
Chilling the house briefly firms fresh icing and gives each candy a grippier welcome, while smaller dabs prevent the sliding that big blobs cause. Hold every piece in place for a slow count of ten before letting go completely.
What is the easiest colour scheme for beginners?
White with one accent colour, most often red, forgives nearly every beginner mistake and always looks deliberate rather than accidental. Icing covers the walls in snowy white, the accent colours the roof and door, and the result feels classic immediately.
How should a finished house be stored before the party?
Cool dry cupboards away from steam and sunlight protect a finished house best, ideally inside a loose lidded box that keeps dust off without touching decorations. Steam from kettles and ovens softens icing faster than anything else in the kitchen.
More Ideas to Explore
Decorating day pairs beautifully with other festive kitchen projects from our guides. Plan a swap with christmas cookie exchange ideas, fill the oven using christmas baking ideas for the whole season, dress the room with christmas kitchen decor ideas, and finish the table with christmas centerpiece ideas that gather compliments.
Conclusion
Decorating a gingerbread house asks for patience, a clear colour plan and a little courage, yet it rewards every decorator with a display that gathers compliments all season. Skill grows quickly once the first house stands finished and admired.
Every style in this guide stays affordable and achievable at a normal kitchen table, and the best gingerbread house decorating ideas are simply the ones your family gathers around happily. Pick the design that suits your people and your purse.
Start with one house, one colour plan and one calm afternoon, then let the decorations grow as your confidence does through the session. Photograph the result, share it proudly, and notice how much easier the second house feels.
Enjoy the decorating as much as the display, because the laughter around the table becomes the memory long after the last crumb disappears. Houses crumble and seasons change, but a family that decorates together returns to the table yearly. Simple gingerbread house decorating ideas like these turn one plain house into the sweetest spot in the room.